Backcountry Layering 101
How to Build a Backcountry Layering System That Actually Works
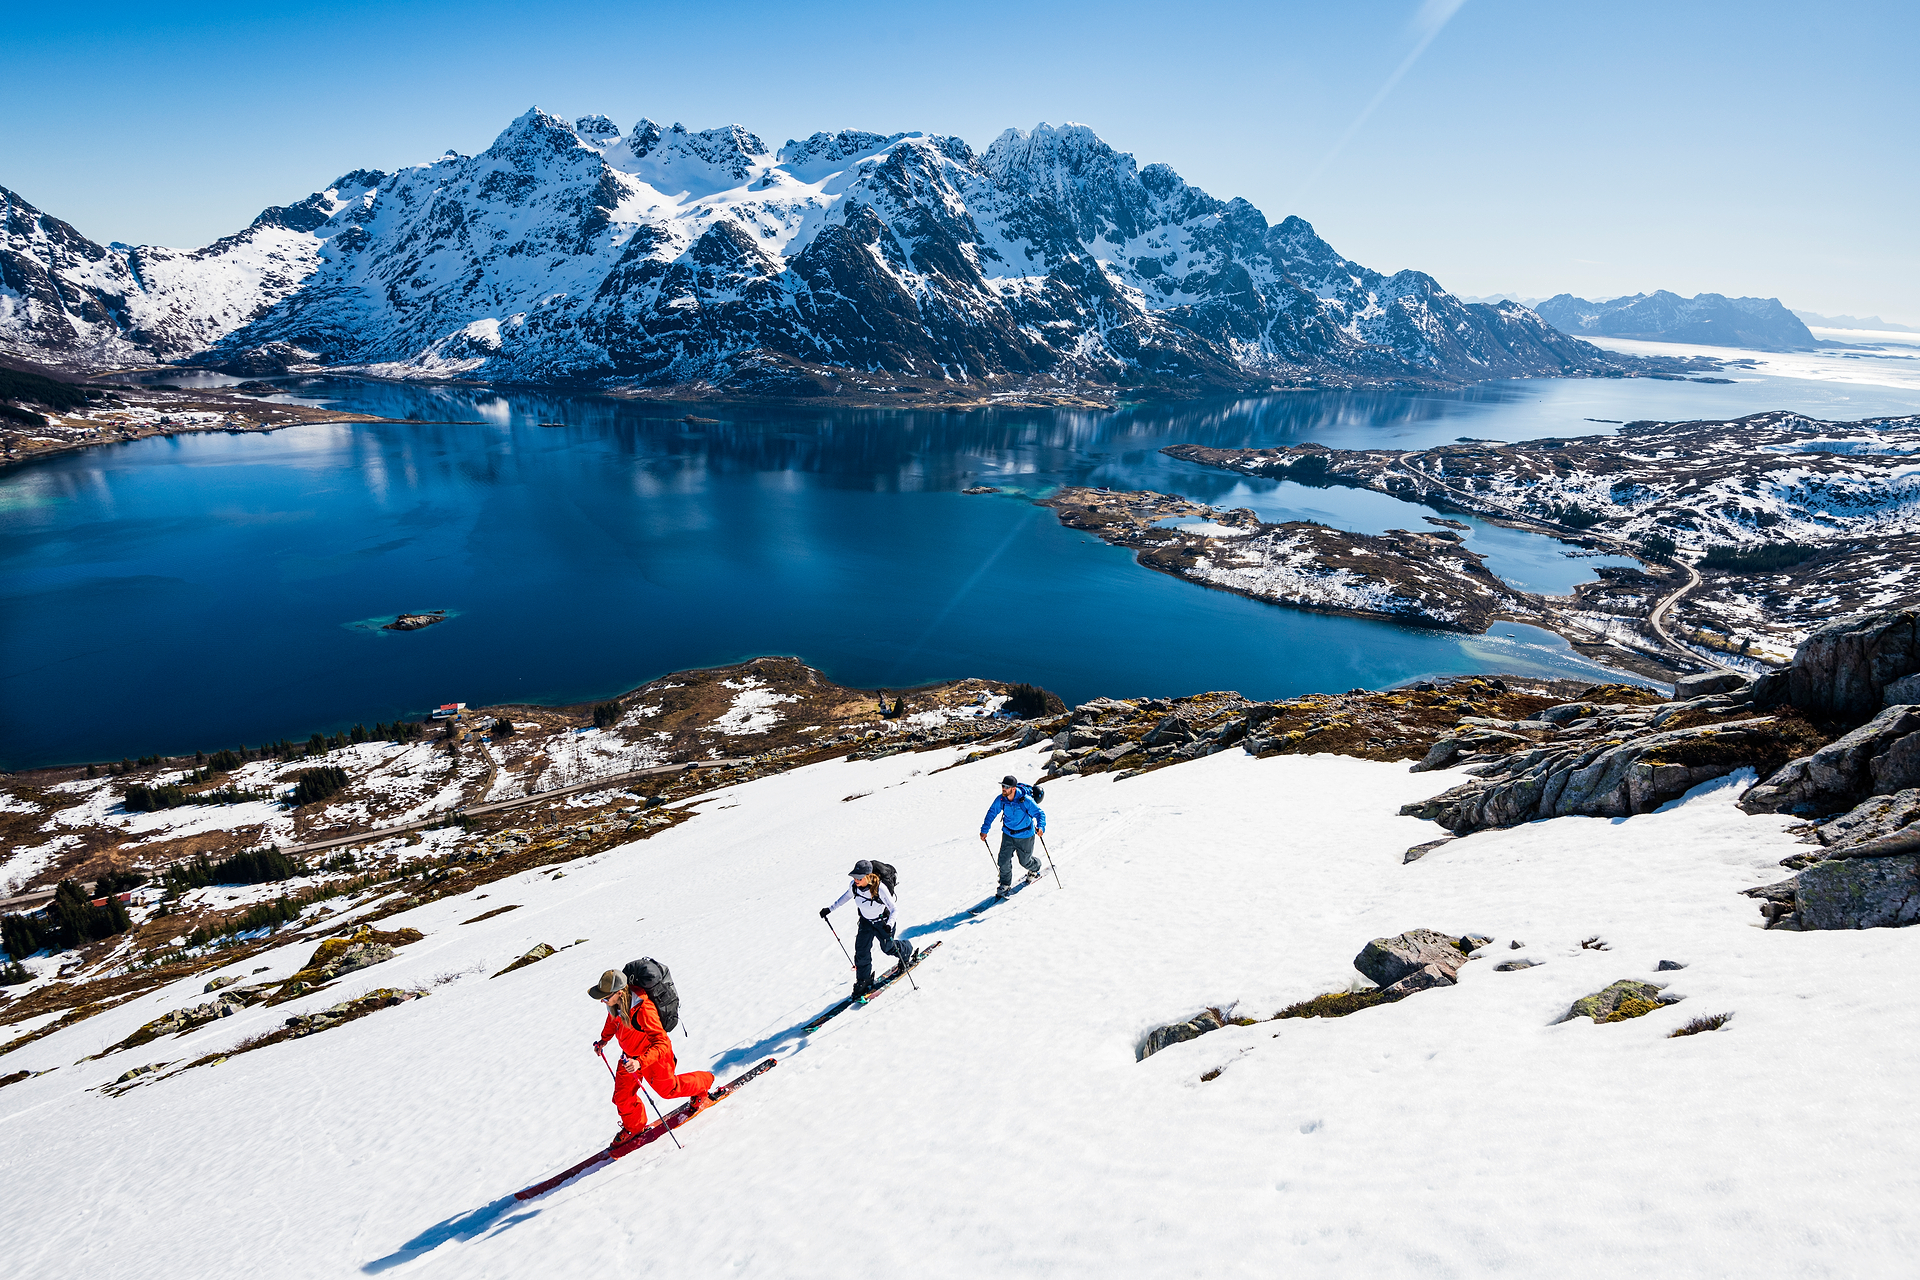
There is a moment every backcountry skier knows. You’re twenty minutes into the skin track, your heart rate is climbing, and you’re suddenly overdressed. You stop, strip a layer, stuff it in your pack, and move on. Two hours later, standing on a windswept ridge, you’re pulling it back on.
This dance — adding, removing, adjusting — is the reality of backcountry skiing. And it’s exactly why your clothing needs to work as a system, not as a collection of individual pieces.
At Stellar Equipment, we design every garment to play a specific role in a larger system. Here’s how to build one that works.
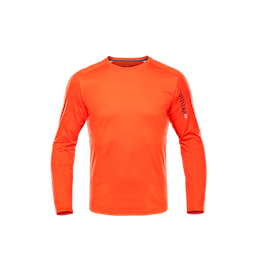
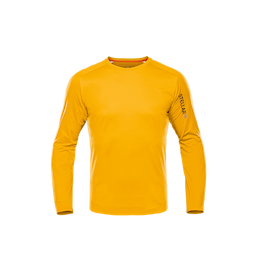
Layer 1: The Base Layer
Your base layer manages moisture. It’s the only layer that touches your skin for the entire day, and it has the hardest job: moving sweat away from your body before it cools and chills you.
For high-output touring days, choose a lightweight merino or merino-synthetic blend. Pure merino excels at temperature regulation and odour management. A blend adds durability and faster dry times. Avoid cotton entirely — it holds moisture and loses all insulation value when wet.
A base layer should be snug without restricting movement. Too loose and it traps dead air against wet skin. Too tight and it restricts the arm reach you need for pole plants and kick turns.


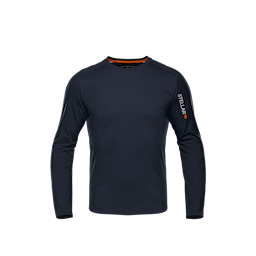


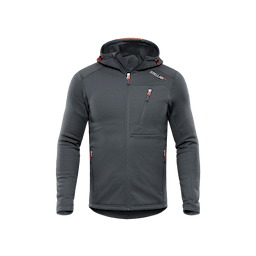
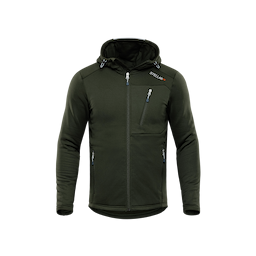
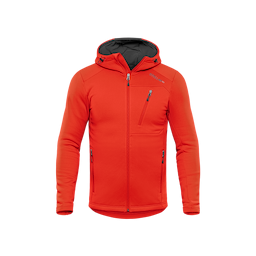
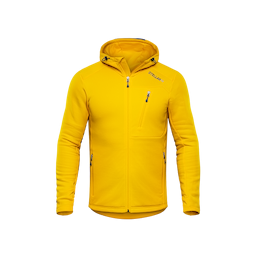
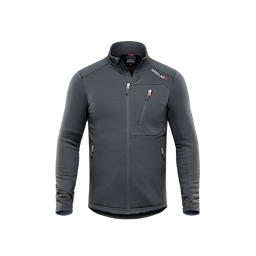
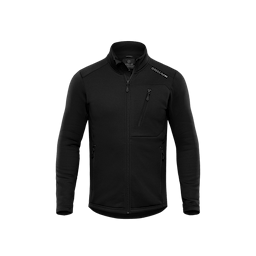
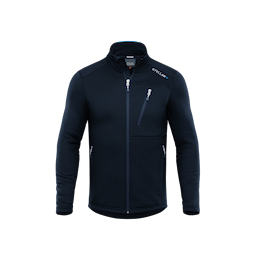
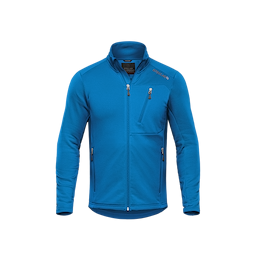
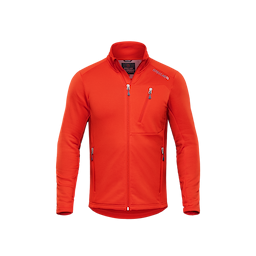
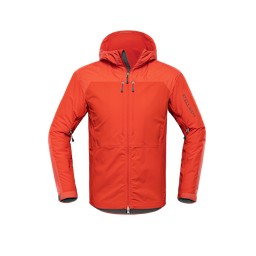
Layer 2: The Mid Layer
This is your thermostat. The mid layer traps warmth during static moments (summit, lunch, transitions) and vents heat during movement. The right mid layer depends on your activity level and the conditions.
Best for high-output days.
Breathes well, dries fast, minimal bulk. Ideal when you’re moving most of the day.
Bridges the gap between fleece and down.
Provides warmth even when slightly damp. Works well for variable pace touring.
Reserve for cold, low-output days or as a summit/belay layer you carry in your pack.
Not ideal for skinning — it’s too warm and slow to vent.
The key insight: you may carry two mid layers and swap between them. A system gives you that flexibility. A single “do-everything” jacket does not.


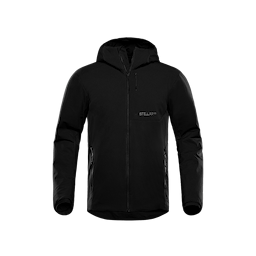

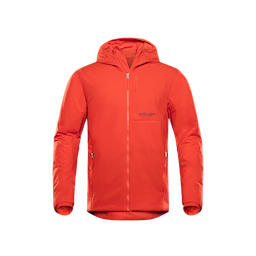


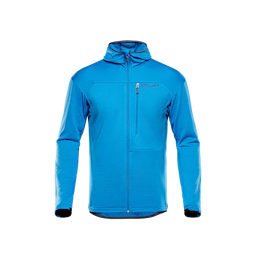
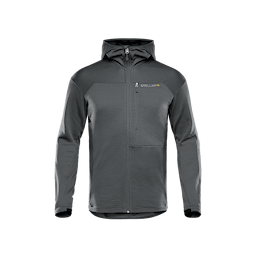


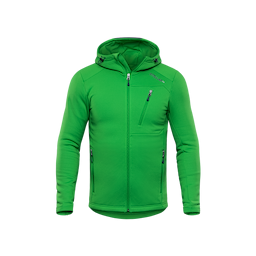
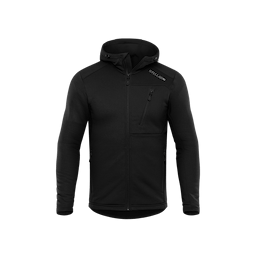
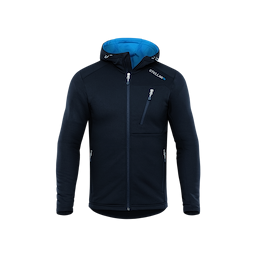


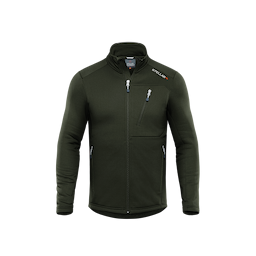
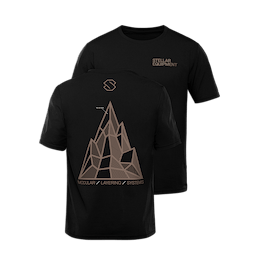
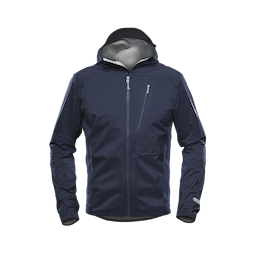
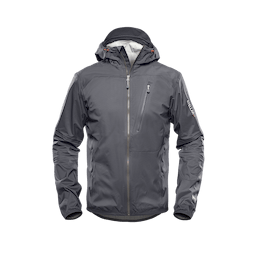
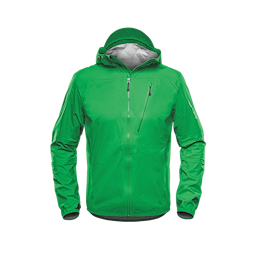
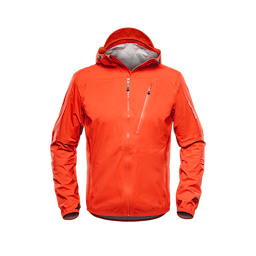
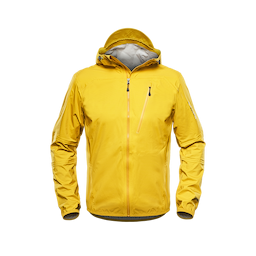
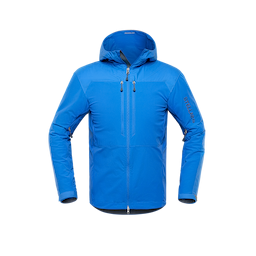
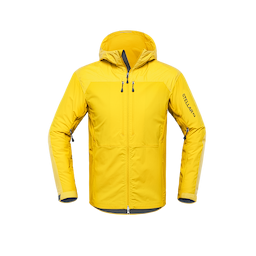
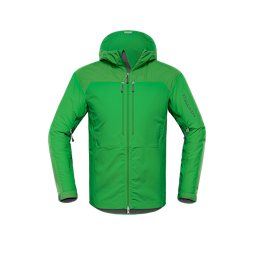
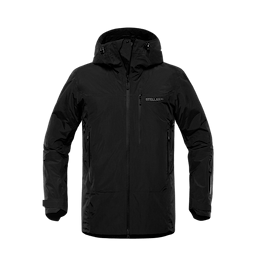
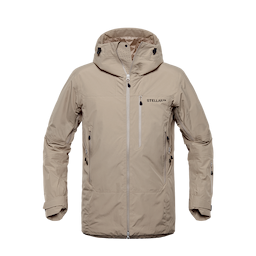
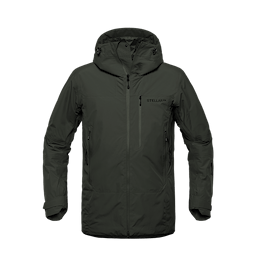
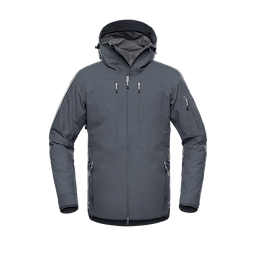
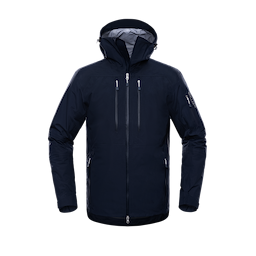
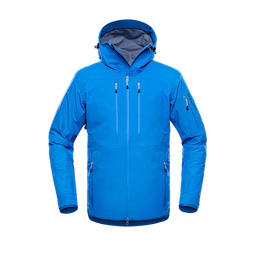
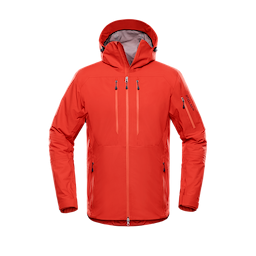
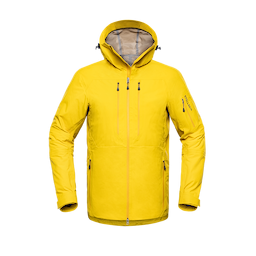
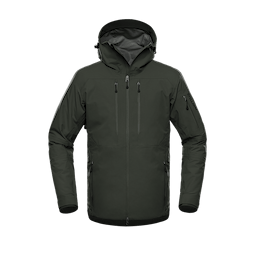
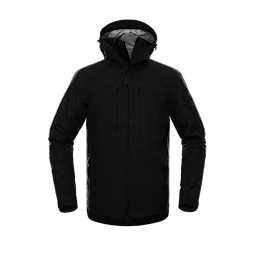
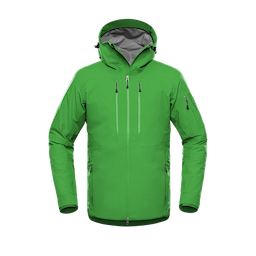
Layer 3: The Shell
Your shell is your weather shield. It blocks wind, sheds snow, and protects the insulation layers underneath from getting wet. In backcountry skiing, you need a shell that can handle both the uphill and the downhill.
Look for a 3-layer construction with a waterproof-breathable membrane. Pit zips or chest vents are non-negotiable for touring — they let you dump heat without stopping to de-layer. A helmet-compatible hood, reinforced shoulders (for pack straps), and a powder skirt round out the backcountry essentials.
Your shell should fit comfortably over your thickest mid layer combination with full range of motion. If it’s tight over a base + heavy fleece, the system breaks down.


Putting the System Together
A complete backcountry layering system typically includes 4–5 pieces:
1 base layer
(lightweight merino or blend)
1 light mid layer
(grid fleece or light synthetic) — worn while skinning
1 warm mid layer
(heavier fleece, synthetic, or down) — carried for breaks and descents
1 shell jacket
(3L waterproof-breathable with ventilation)
The beauty of this approach is modularity. On a warm spring day, you might tour in just a base layer and shell. On a cold January powder day, you’re running all four. The same pieces adapt to both.
The Difference a System Makes
When your layers are designed to work together — same fit philosophy, complementary materials, considered overlap — transitions become faster, comfort improves, and you carry less. You stop buying “one more jacket” and start building a kit that covers every condition.
That’s what we mean when we say system, not collection. Every piece has a role. Together, they perform.